

Microsoft Loop is an innovative platform that takes team communication and collaboration to the next level. With its seamless integration of chat, video, file sharing, and project management tools, Loop enables efficient real-time work, regardless of time and location. Featuring user-friendly functions and customization options, Microsoft Loop is the ideal solution for teams of any size looking to enhance their productivity and collaboration. It is a new app that combines a powerful and flexible canvas with portable components that remain in sync and move freely across Microsoft 365 apps.
Note: To activate Microsoft Loop, you need a Microsoft 365 license. A “basic” Office 365 license is not sufficient.
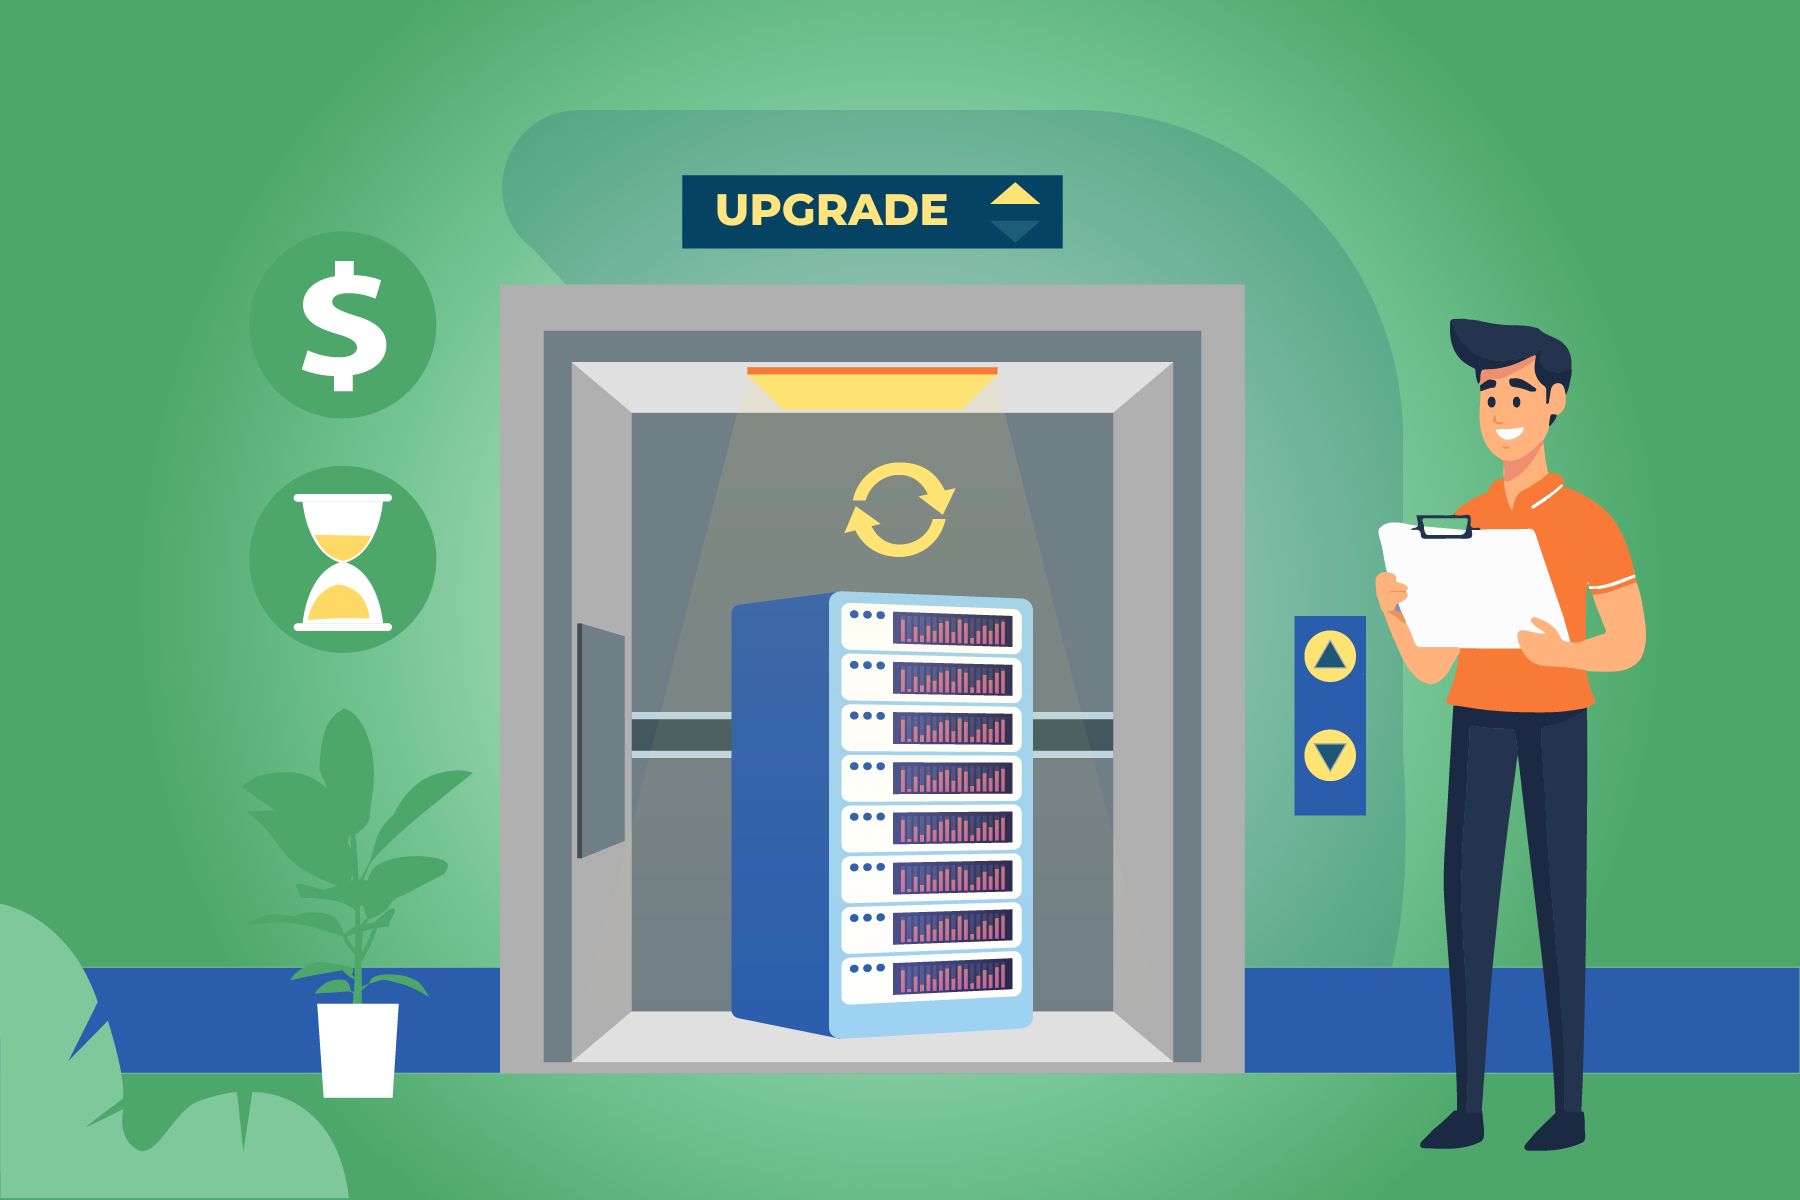
Why Should Loop Be Activated?
Empower your organization and join the modern workplace movement by activating Loop. Loop enables your team to collaborate seamlessly, even in remote and hybrid work environments. Create and share Loop components—portable content that syncs and is available in Microsoft Teams, Outlook, Word for the Web, Whiteboard, and the Loop app. These components stay up-to-date, regardless of where they are shared, and can be edited directly within the respective applications. The Loop app itself allows your teams to consolidate all the resources needed for a project in one place, enabling them to think, plan, and create together.
How Do I Activate the Microsoft Loop App for My Organization?
Step 1: Creating a Security Group
There are two ways to create the group. You can either create a dynamic security group, which can be populated with user accounts through queries, or you can create a static security group, which you, as the IT administrator, manually populate. More details are available in the Microsoft article.
What Are Dynamic Groups?
A dynamic group is a dynamic configuration of security group membership for Azure AD, available in the Azure portal. Administrators can define rules to populate groups in Azure AD based on user attributes such as user type, department, or country/region. Members can be automatically added to or removed from a security group based on their attributes. These groups can grant access to applications or cloud resources (such as SharePoint sites and documents) and assign licenses to members.
Create a Static Security Group:
- In the Microsoft 365 Admin Center, go to > Groups.
- On the Groups page, select Add a group.
- On the Choose group type page, select Security.
- Follow the steps to complete the creation of the group.
Add members to the static security group:
- On the Groups page, select the name of the security group, and on the Members tab, choose View all and manage members.
- In the group section, select Add members, choose the person from the list, or type the name of the person you want to add into the search field, and then select Save.
Step 2: Creating a Policy Configuration
1. Sign in with your administrator account at https://config.office.com and select Customization > Policy Management > Create, Create to create a new policy configuration in your tenant. You can name the policy as you wish. In the following example, we have named it “Loop Policy”:

2. Define Scope: Select the newly created policy configuration in the specified group. Now assign the security group to the user for whom you want to enable the Loop app. In the following example, we used the previously created Loop App Security Group. Note: Each policy configuration can only be assigned to one group, and each group can only be assigned one policy configuration.


The following table lists the required policies that need to be configured/activated. Depending on how Loop will be used in your workflow, it can integrate with various platforms such as Figma, Jira, GitHub, Azure, and Trello. It is important to note that specific policies should be enabled for effective collaboration between these tools. This ensures that all processes run smoothly and efficiently, ultimately leading to improved productivity.
DONT NEED!
| Loop Policies | Loop Policies |
| Create and display loop workspaces in Loop | Create and display loop workspaces in Loop |
| Import, view and edit items from apps that are integrated with Loop | Import, view and edit items from apps that are integrated with Loop |
| Import, view and edit Azure DevOps items from Loop | Import, view and edit Azure DevOps items from Loop |
| Import, view and edit GitHub items from Loop | Import, view and edit GitHub items from Loop |
| Import, view and edit Jira issues from Loop | Import, view and edit Jira issues from Loop |
| Set up and execute automation rules in Loop via the Power Automate integration | Set up and execute automation rules in Loop via the Power Automate integration |
| Import, view and edit Trello boards from a Loop | Import, view and edit Trello boards from a Loop |
| Removing Figma file and prototype links as embeds in Loop pages | Removing Figma file and prototype links as embeds in Loop pages |
| View and edit surveys with the survey loop component | View and edit surveys with the survey loop component |
| Create and view whiteboard files in Microsoft apps that support Loop | Create and view whiteboard files in Microsoft apps that support Loop |
| Enable the preview features for Loop | Enable the preview features for Loop |
| Allow users to send feedback to Microsoft | Allow users to send feedback to Microsoft |
Once you have configured the policies, save the rule. It may take up to an hour for the settings to take effect. Afterward, you can visit the page: https://loop.microsoft.com/
When Loop is activated, you will see the Loop app!
Microsoft Loop – FAQ
A direct file export is not possible, but you can export loop components as a PDF or print them out.
Since July 2024, it has been possible to share your Loop workspaces with guests. You can find out more on the Microsoft blog.
To do this, click on the three dots in the top right-hand corner of a loop component to display the version history and restore previous versions.

The activation of loop components in Outlook is done via corresponding policies (see: Policy table in our blog). Loop must be activated for the entire client. Please note that all components are currently only available in the “new Outlook”, while availability in the old Outlook is still restricted.
The loop components are automatically backed up to the personal OneDrive. As OneDrive is often used as the default storage location, the data is included in the usual backup processes for OneDrive.


Leave A Comment